Dennis was subtle; she played him songs about friends becoming more, forced movies of friendship blossoming into romance on him, and brought him to my Kentucky derby party so she could get our opinions of him2.
Then, one day, Dennis confided her secret passion to her good friends Ellen, Katie, and Jackie. She confessed how she had been trying to hint to Kyle that he should put on some shining armor and rescue her from her crazy cat lady lifestyle3. Katie and Jackie instantly thought up schemes of meeting Kyle. Ellen was an innocent bystander in all of this, FYI, but, as much of this scheming took place over ice cream, had no choice but to participate. One day, Katie fed Jackie enough water to make her eyes water, just so they could have an excuse to go up to Dennis' apartment and use her bathroom (since "we were in the neighborhood" on our way to see a "movie"). Alas, Kyle had already left, and Dennis called our4 bluff, joining us at a midnight movie5.
One day, when Ellen and Jackie were out of town, Katie fed Dennis a magical potion6. By the end of the evening, Dennis had sent Kyle an email confessing her true feelings (mostly because Katie tackled her and wouldn't let her click 'undo').
Dennis waited and waited, but Kyle didn't answer. One evening, Dennis went to Ellen's house to distract herself. Ellen fed Dennis comfort food (enchiladas, comfort food of choice7) and turned on a TV show about their favorite serial killer, Dexter. Just when someone was about to get offed, the most amazing thing happened! Kyle answered Dennis' email! Kyle, too, loved! They were clearly meant to be.
Then Ellen moved to Connecticut and kinda lost the thread of this love story. But just a few short months ago, while hiking at a park in Ohio, Kyle got down on one knee and asked Dennis to marry him. Dennis, flustered by the whole thing, also got down on one knee and said "yes". And, on June 24, Dennis and Kyle, along with their 120 closest friends and family, will eat the biggest cake they've ever seen8.
And they will live happily ever after.
The End.
1 this semi-colon's for you, Dennis!
2 this is the one and only time I've met him, and is the primary reason why he equates me with derby pie.
3 even though at the time she technically had no cats
4 I will do anything for ice cream, even spy on my friend. I'm not proud of it. I've started a program.
5 even though we're note really 'midnight movie' people, and all fell asleep about 10 minutes in.
6 Wine.
7 thanks for the recipe, Katie's mom!
8 what? isn't that what weddings are all about? The cake? No? Huh...
Aww.
Oh. Shit. I have to make that cake.
Draft 1!

Chocolate Wedding Cake with Raspberry Mousse
Ingredients:Chocolate Cake:
1 1/2 sticks of softened butter
1 3/4 c all purpose flour
4 oz unsweetned chocolate
1/4 c cocoa powder
1/2 c hot water
1/2 c powdered sugar
1 1/3 c granulated sugar
1 1/2 t baking soda
1 t table salt
1 c buttermilk
2 t vanilla
4 eggs + 2 egg yolks
Raspberry Mousse:
7 oz frozen raspberries
1/2 c powdered sugar
2 t vanilla
5 t unflavored jello
2 c heavy cream
Buttercream Frosting:
2 lbs powdered sugar
1 c shortening
1 t vanilla
1/2 - 3/4 c milk
Tools:
Baking pans
Pastry bag
Straws
Cake boards
Decorating tips
Chocolate Cake
Preheat the oven to 350 and prepare your pans. I used 6" and 8" pans and baked the leftovers in jars to send to Dennis. All you need to do to prepare the pans is to spray them with non-stick baking spray (with flour in it). If you just have regular nonstick spray, just toss a bit of flour in the pan and shake it around.
You're going to need to melt the chocolate, and chocolate can burn if you're not careful. The best way to do this is to coarsely chop it and then toss it in a double boiler over simmering water. I use my food processor to chop it up fairly fine, like so:

Then, in a double boiler (or a bowl placed on top of a simmering pan of water) mix together the cocoa, chocolate, and hot water, stirring until the chocolate is melted (about 2 minutes or so).
Once the chocolate is melted, remove from the heat and add the powdered sugar and stir until it's well incorporated. It should be a nice thick glossy mess of chocolatey goodness.

Put this aside to cool, and in the meantime, in the bowl of your mixer, mix eggs and yolks on medium-low until they're well combined. Then add in the sugar and mix until light and fluffy, another 2 or 3 minutes.

Add the chocolate mixture to the egg/sugar mixture on medium speed until well combined, another 30 seconds - 1 minute. Scrape down the sides and give it another good stir just to make sure it's all incorporated.

Add the butter in 1 tablespoon at a time, mixing well after each addition. Scrape down the sides as needed. Note -- if you wipe butter off your hands with a kitchen towel, your dog will steal it.

Whisk flour, baking soda and salt together in another bowl. In yet another bowl (yeah, sorry about all the dishes) combine the buttermilk and vanilla.

Add about 1/3 of the flour mixture and 1/2 of the buttermilk/vanilla mixture to the chocolate/egg mixture and mix on slow speed until incorporated. Alternate flour and liquid additions, ending with the flour mixture and scraping down the sides of the bowl in between.
Once the mixture is thoroughly combined, remove the bowl and mix it by hand a couple times, just to double check.

Put about 2 cups of batter into the small 6" pan and 4 c into the 8" pan. Otherwise, divide battern evenly between two 9" round pans. Loving the new kitchen scale to help with this!

Bake the cakes until a toothpick inserted in the middle comes out clean (with a few crumbs attached is fine, but not liquidy), 25 - 30 minutes or so.

Cool cakes in their pans for 10 minutes, then invert onto a wire rack. Cool completely.

Raspberry Mousse
Once your cakes have cooled, move on to making the mousse! This is very easy and totally delicious. Mix the raspberries, powdered sugar and vanilla in the top of a double-boiler and heat it up, just until it starts to boil.

Stir with a whisk until the mixture reaches 160-170 degrees. Remove from the heat and let it cool for a couple minutes.

Once it's cooled a little bit strain it through a strainer to remove the seeds.

Whip the cream. Yum.
Put the gelatin in the raspberry mixture and stir well until it's melted and thoroughly incorporated.
Add 1 c of the whipped cream to the berry mixture and stir it well. Then fold this mixture in to the rest of the whipped cream.

Voila! Mousse!
Crusting Buttercream Frosting
Cream the shortening and vanilla in the mixer until well incorporated.
Add in the powdered sugar, one cup at a time.
When your mixer starts to complain, slowly add in the milk.

You can adjust the amount of milk accordingly to create a stiff or soft consistency. I made a medium/stiff consistency frosting, since I knew it needed to help with structural support.
Cake Assembly
Ok. This is a little tricky, but you can do it. First, put your cakes on a cake board, cut to be just a little bigger than your cake. See? Baby steps.

Then you need to torte you cakes. This sounds a lot fancier than it really is. All you need to do is to slice your cakes horizontally. You can do this in many ways. You can use a cake leveler, you can use floss, or you can just cut it (with a serrated knife).
Yeah, that's it. That's what it means to torte a cake!
Once you've sliced your cake, slide a cake board between the layers. This will help you remove the top layer without it falling apart.
Take the top part off, and use a spatula to splat some mousse on top. Then using a spatula or an offset spatula, spread the mousse until it's even.

Ditto with the other cake(s).

Put your top cakes back on top. It's pretty easy to slide it off the cake board.

Now cut your straws until they are the same height as your cake, and insert some (I did 3 per level) into the middle part of your biggest cake. This will provide the support to hold up the next level.
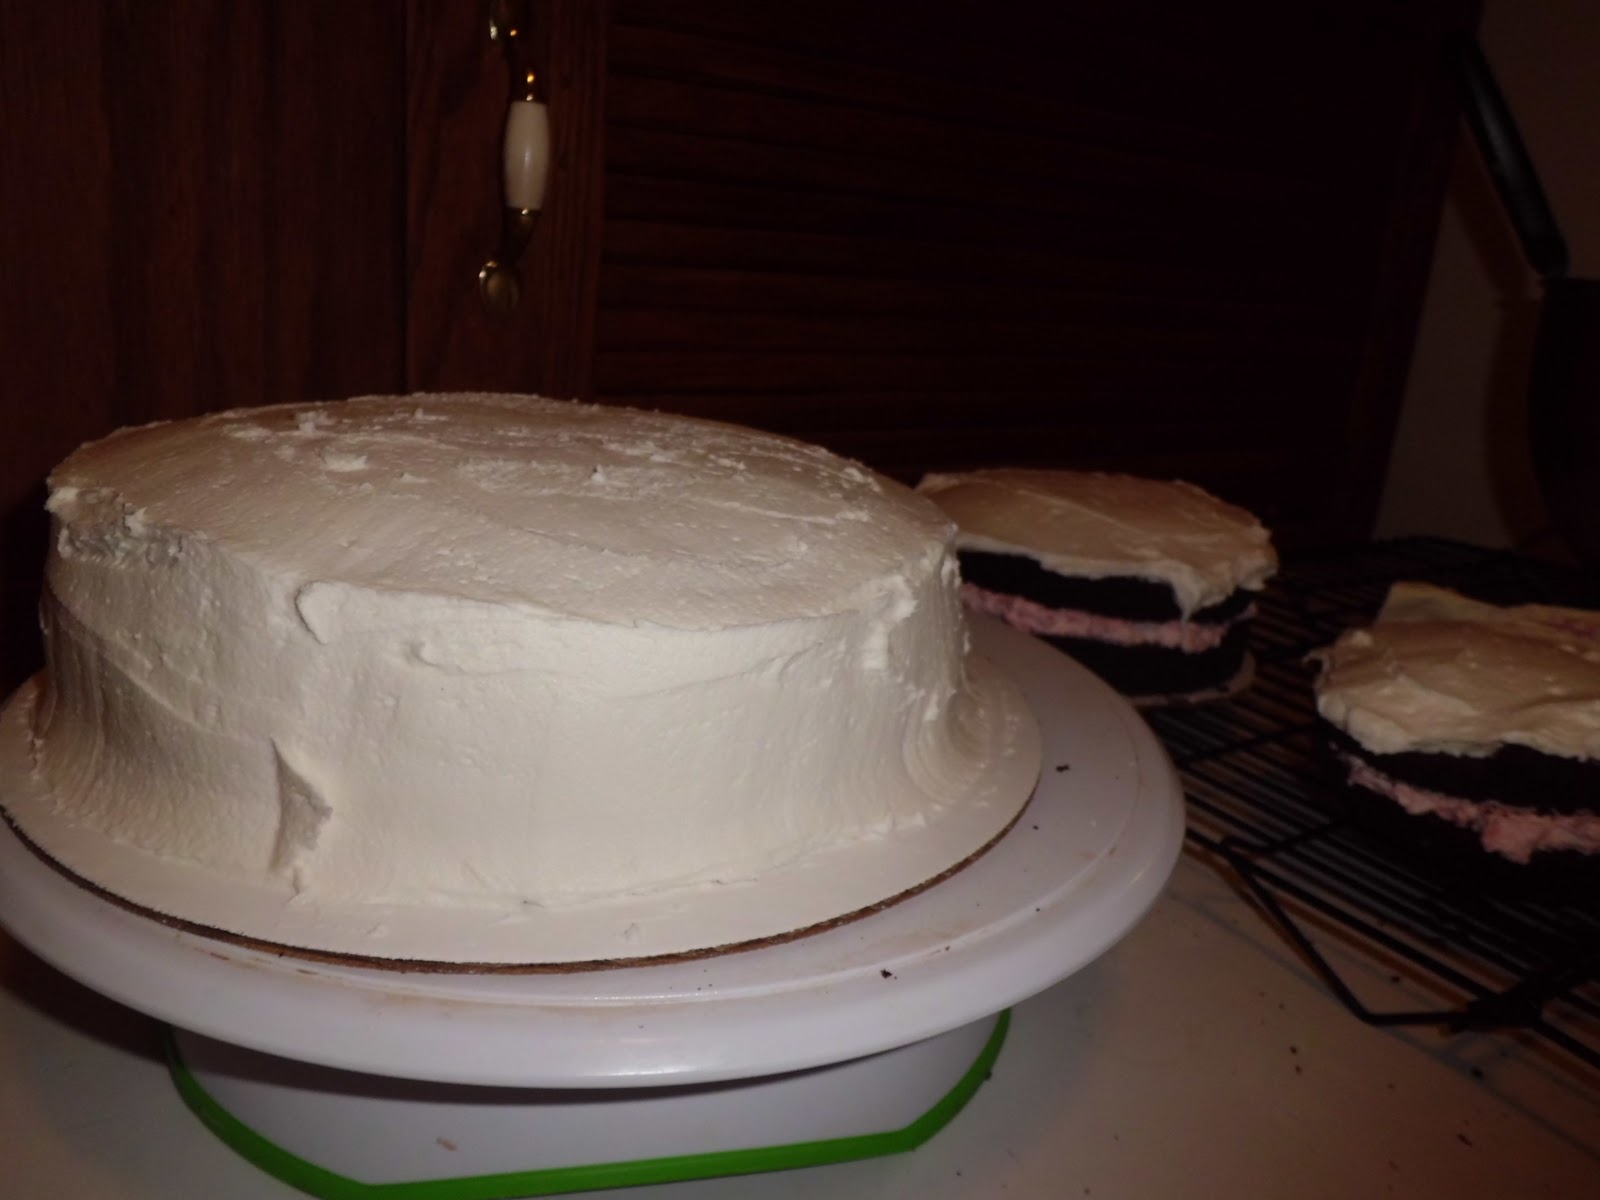
Next frost your cakes. There are several schools of thought about this. Since this is a chocolate cake, and we're using white frosting, I find a crumb coat to be very very useful in keeping crumbs from reaching the outside of the cake.

Whatever you decide to do, frost your cake until the whole thing is covered in frosting. I like to use a big offset spatula and place the icing on that way, other people use a pastry bag. Do whatever feels right. A few tips for you -- start with the top and then move to the sides. Also, don't pick up your spatula, if you do, that's when you'll get crumbs! Noooo!!

Once you've frosted your cake, then you can decorate it however you want. I used a pastry bag to make a stripe around the bottom layer, and then piped dots on. I couldn't decide what kind of border to do, so I did different ones on each tier. For more cake decorating tips, check out the wilton website. They're way way more expert than I am!
Then, using your offset spatula to help support the cake, place one tier on top of another! When you serve you cake, you'll want to remove the top layer and serve it first, then the bottom layer. Also, remember there are straws in there! Be sure to remove them before you serve the cake to your guests!
Enjoy!
Great Story! I LOVE the footnotes (and the cake looks yummy too)!
ReplyDelete